Middletown fixture moves leave more drywall risk than the hole size suggests
When a remodel changes where a mirror, vanity light, thermostat, cabinet, television mount, or wall sconce sits, the drywall damage can look minor at first. A few box cutouts, anchor holes, or rectangular patches may not seem like much compared with a full-room renovation. The problem is that Middletown homes around Shelbyville Road, Evergreen Road, Douglass Hills, and the I-265 corridor often have long wall views and strong window light. Small repairs on those wall runs can stand out after paint if the patch edge, texture profile, or sheen changes even slightly.
That is why drywall repair after fixture moves should not be treated as a quick dab of compound and a fast repaint. The repair has to account for backing, texture, final paint sheen, and the way people enter and use the room. A former vanity light location above a mirror, for example, sits exactly where guests look first. A patched thermostat location in a hallway may catch raking light every afternoon. The patch may be small, but the visibility stakes are not.
Start with the reason the wall changed
Fixture-move repairs go better when the drywall scope is tied to the remodel decision that caused the opening. Electrical box relocations need different planning than cabinet anchor holes. Plumbing access cuts need different checks than a moved TV bracket. Old mirrors can hide adhesive scars, torn face paper, and paint ridges that only become obvious once the new layout exposes more wall surface. Each cause leaves a different repair signature.
In Middletown kitchen and bath updates, the most common trouble spots are vanity light moves, medicine-cabinet removal, backsplash changes, shelving anchors, and outlet adjustments. In living rooms and basements, TV mounts and speaker runs add their own pattern of holes and cable cutouts. Before pricing or patching, the repair plan should group those conditions by wall, not just by total hole count. A wall with three small defects in a high-visibility band may need a broader finish strategy than one larger patch hidden behind a future cabinet.
Patch sizing: square, supported, and easy to finish
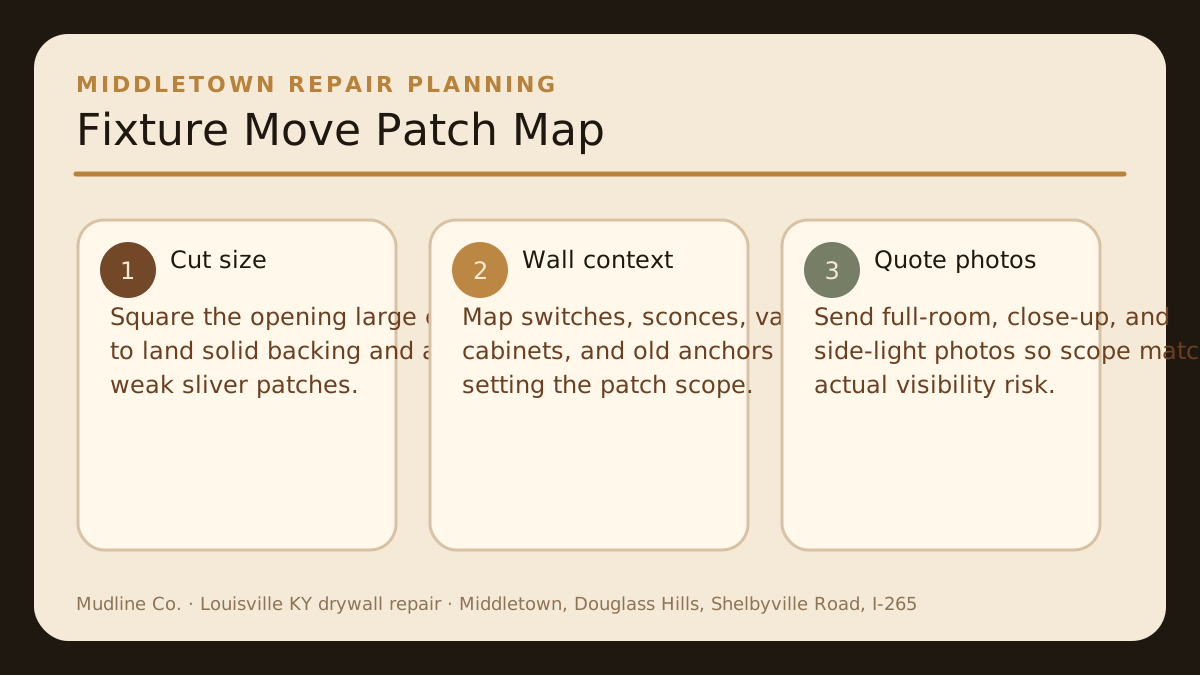
A drywall patch has to land on a stable base. If the edge is crumbly, unsupported, or loaded with torn face paper, a tiny cosmetic patch can fail or flash under paint. Squaring the opening and adding backing may feel like making the hole larger, but it often makes the finished repair smaller visually because the tape line and compound field become more predictable. Clean geometry helps the finishing work disappear.
This is especially important after electrical and low-voltage changes. Around old boxes, the surrounding gypsum may be notched, overcut, or weakened from earlier work. A neat patch with proper backing lets the repair sit flat, reduces flex, and gives tape a clean transition. The right size is not always the smallest size. The right size is the smallest stable repair that can be finished without telegraphing through primer and topcoat.
Texture blending matters even on smooth-looking walls
Many Middletown walls are described as “smooth” by homeowners, but few older painted walls are truly uniform. Years of roller stipple, spot repairs, repaint buildup, and sanding marks create a surface profile. When a fresh patch is sanded flatter than the surrounding field, the wall can flash. When new texture is heavier than the surrounding field, it can create a halo. Both conditions become more visible once finish paint dries.
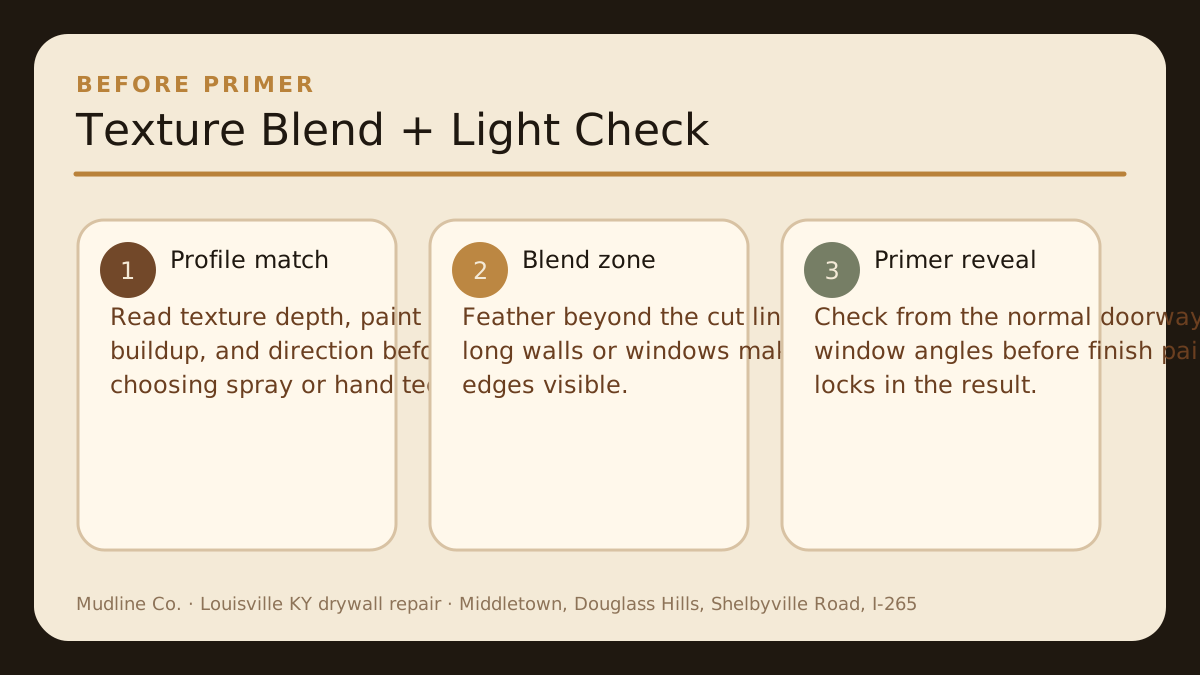
Texture matching starts by reading the existing wall. Is the old paint rolled with a noticeable nap? Is there a light orange-peel profile? Did previous repairs leave a soft, uneven texture? Is the final paint flat, eggshell, or satin? Those details determine whether the repair needs a skim feather, a rolled texture match, a spray texture, or a broader blend zone. The target is visual continuity from normal viewing angles, not a laboratory-perfect repeat of every old bump.
Side-light checks are the best early warning system
Side light exposes drywall transitions that overhead work lights miss. A patch that looks perfect straight on can show a ridge, edge, or texture shift when viewed from a doorway or window angle. Middletown homes with open kitchens, long hallways, and connected family rooms often create these long sightlines. That makes light-angle checks one of the cheapest quality controls in the whole repair process.
Before final paint, the wall should be checked from the places where people naturally stand: the room entry, the stair approach, the kitchen island, the sofa line, or the bathroom doorway. A phone flashlight held at a shallow angle can also reveal ridges before primer. The point is not to chase perfection forever. The point is to catch obvious transitions while they are still easy to correct with targeted sanding, skim adjustment, or texture refinement.
Primer is a reveal coat, not a formality
Primer is where many fixture-move repairs either settle down or reveal what still needs attention. Bare compound absorbs differently than painted wall fields. Without primer, a patch can look acceptable during sanding and then flash once topcoat is applied. Treating primer as a real quality gate gives the drywall and paint plan a chance to correct small issues before they become customer-facing.
For remodel layout changes, primer also clarifies the new visual hierarchy of the room. The wall may now have a centered mirror, a shifted vanity light, a different cabinet run, or a larger open field where built-ins used to sit. Once primer unifies color and absorption, the team can view the whole room as it will be used. That is the right moment to decide whether a touch-up is needed before final paint.
Occupied-home logistics: plan dust honestly
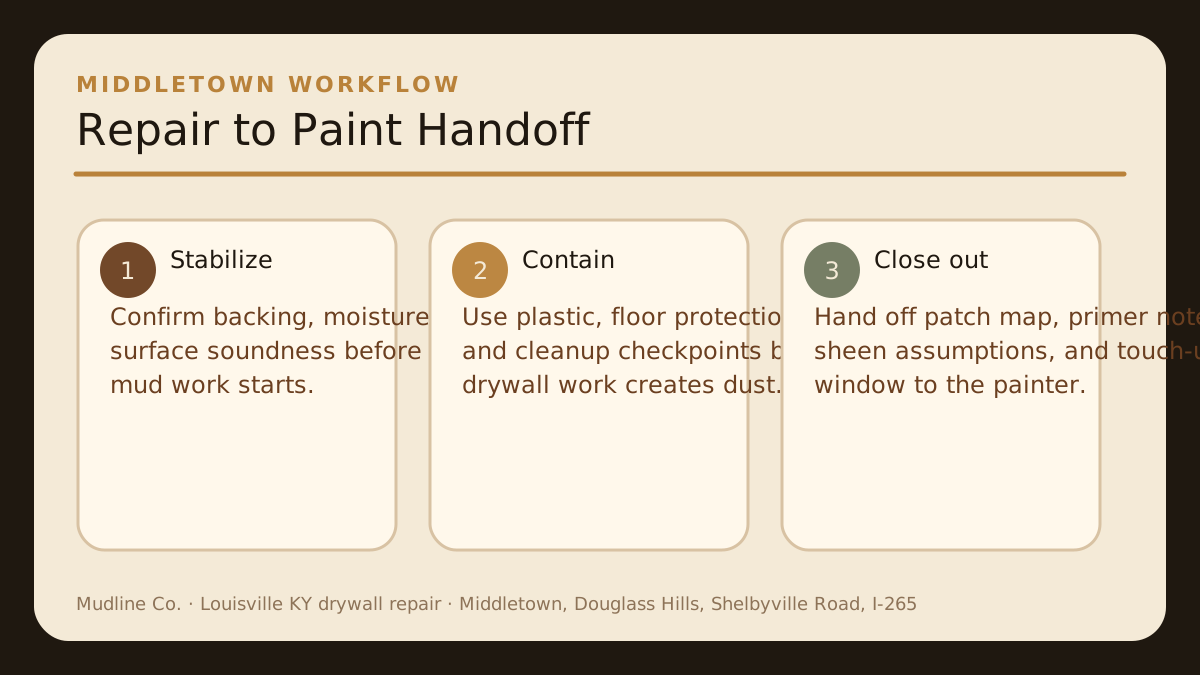
Drywall is a dusty process — we do not pretend otherwise. Even small fixture-move repairs can involve cutting, sanding, skim coating, and cleanup. Good planning reduces the spread, but it does not erase every speck. In occupied Middletown homes, practical containment matters: plastic barriers when needed, floor protection, controlled sanding methods, and daily cleanup checkpoints so the living space remains manageable.
The best customer experience comes from clear expectations. Homeowners should know which rooms will be affected, whether nearby furniture needs to move, when sanding is expected, and how the work zone will reset at the end of the day. That kind of communication is often what separates a stressful repair from a controlled one. The wall matters, but so does the way the house functions while the repair is underway.
Bathroom and vanity-light changes need moisture-aware repair planning
Bathroom fixture moves deserve extra care because humidity, mirror adhesive, old caulk lines, and previous water exposure can complicate the surface. When a vanity mirror comes down, it may reveal torn drywall paper, old mastic, paint ridges, or hidden stains. Covering those issues too quickly can lead to bubbling, flashing, or uneven paint absorption later.
A practical repair sequence includes removing loose paper, sealing vulnerable face paper, checking for active moisture, and then building the patch system from a stable surface. If the new mirror or fixture layout exposes more wall than before, the visible field may need a wider skim or texture blend than the immediate damage suggests. The finished wall should support the new layout, not just hide the old one.
Kitchen and cabinet layout changes create anchor-pattern problems
Cabinet, shelving, and backsplash updates often leave repeated anchor patterns. Each hole is small, but the row or grid can create a visible repair band after paint. If those holes are patched one by one without blending the field, the wall can develop a dotted or wavy look under sheen. Grouping the repairs into a planned finish zone usually produces a quieter result.
In Middletown kitchens near Shelbyville Road and Douglass Hills, homeowners often update older layouts in phases. A new range hood, floating shelves, or cabinet extension may expose drywall that was never intended to be seen. Before painting, it is worth deciding whether the surface needs spot repairs only, a broader skim, or a texture refresh across a logical boundary such as a corner, cabinet edge, or backsplash line.
What a good written scope should include
A strong fixture-move repair scope should describe the affected rooms, the openings or anchor patterns, backing assumptions, texture approach, primer expectations, and any paint handoff limits. It should also note whether painting is included or whether the wall will be left paint-ready for another trade. This prevents confusion when the patch work is complete but finish paint still needs to be scheduled.
For homeowners, the easiest way to get an accurate written quote is to send useful photos. Include a full-room photo, close photos of each area, and one angle that shows the strongest light across the wall. Add the paint sheen if known, the remodel reason, and the timeline. If the home is near Middletown, Douglass Hills, Anchorage, or the I-265/Shelbyville Road area, include that context so scheduling and travel are clear.
Painter handoff: make acceptance conditions visible
Drywall and paint are separate steps, but the customer sees one finished wall. That means the handoff should be explicit. The drywall side should identify patched locations, any areas that were skimmed or textured, primer status, and the viewing angles that were checked. The paint side should know the sheen target and whether a full-wall repaint is recommended over spot blending.
In many fixture-move projects, repainting corner to corner is cleaner than trying to touch up a small area on an older wall. That decision depends on color age, sheen, light, and wall length. Calling it out before final paint helps homeowners understand why the scope may include more than the immediate cutout. The goal is a room that reads finished, not a repair that technically closed but still draws the eye.
Bottom line for Middletown remodel drywall repairs
Fixture moves and layout changes leave a mix of small holes, exposed old surfaces, texture differences, and new sightlines. Good drywall repair connects all of those details into one plan. Patch sizing, backing, texture blending, primer reveal, dust control, and painter handoff all matter because the final result is judged in real room light.
If you are updating a Middletown bathroom, kitchen, basement, or media wall, Mudline can review photos and return a written drywall repair scope built around the new layout. The process is simple: stabilize the wall, manage the dust, blend the repair, check the light, and hand off a surface that is ready for the next finish step.
Middletown fixture-move drywall repair FAQs
How big should a drywall patch be after moving a fixture?
The patch should be large enough to reach sound backing and remove weak edges. Small fixture holes can stay small, but relocated boxes, sconces, vanities, and cabinet anchors often need a squared opening so tape, mud, and texture have a stable base.
Why do old fixture locations show through after paint?
Old fixture locations show when the patch edge, texture profile, or paint sheen catches light differently than the surrounding wall. Primer reveal checks and a planned blend zone help catch those transitions before final paint.
Can Mudline repair drywall in occupied Middletown homes?
Yes. Drywall is a dusty process, so we use plastic, floor protection, controlled sanding, and daily cleanup to keep dust managed while the home stays usable.
What should I send for a fixture-move drywall repair quote?
Send one full-room photo, close photos of each opening or anchor pattern, the paint sheen target, and notes about recent electrical, plumbing, cabinet, or vanity changes. Location context near Middletown also helps with scheduling.