Lyndon finish problems show up in long, ordinary walls
Lyndon remodels rarely look like gallery custom homes, and that is exactly why finish level gets missed. Ranch and split-level plans along Shelbyville Road, Lyndon Lane, and the I-264 side have long, plain walls and big windows. Those walls look simple in flat work light and then show every joint once afternoon light rakes across them. Level 5 is not a luxury label here. It is a visibility decision.
Homeowners often ask for “smooth” after the painter has already been scheduled. By then the finish level is a change order. The better conversation happens before hanging closes: which rooms catch side light, which paint sheen is planned, and which walls people see in one glance from the entry or the kitchen.
Level 4 can be the right wall
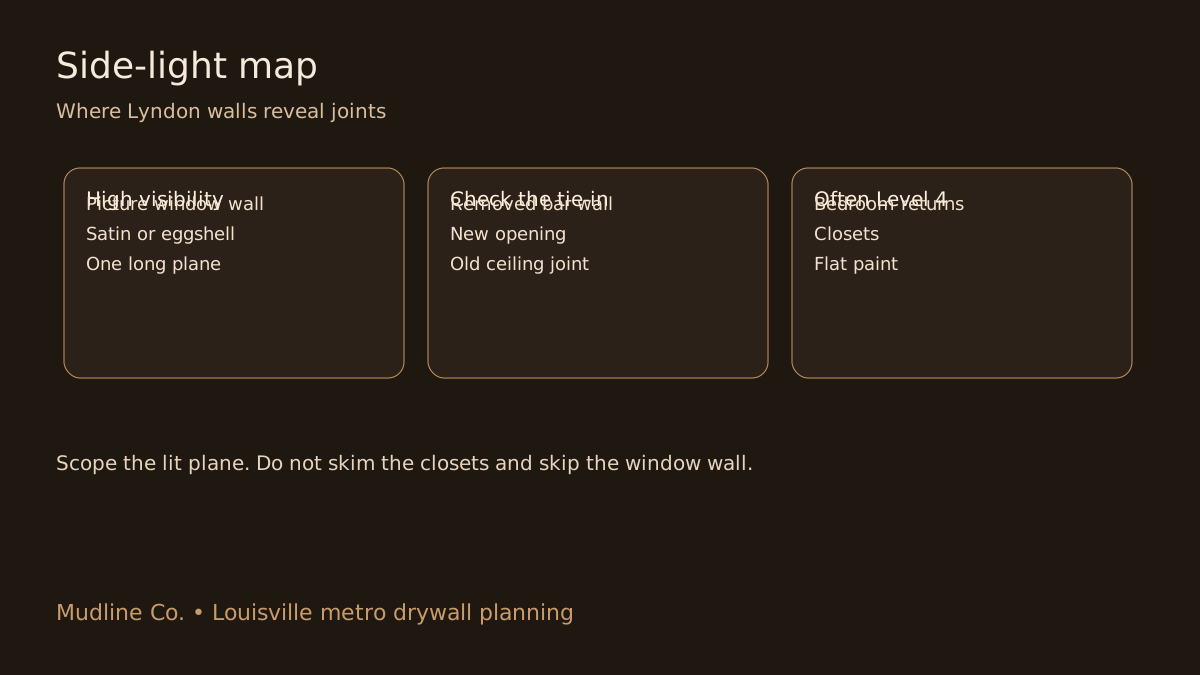
Level 4 is a professional finish when the joints are tight and the paint will not spotlight them. Bedrooms with softer light, closets, and short return walls in Lyndon houses often do not pay back a full skim. Spending the skim budget on every closet while leaving the picture window wall at a rushed Level 4 is how these projects disappoint.
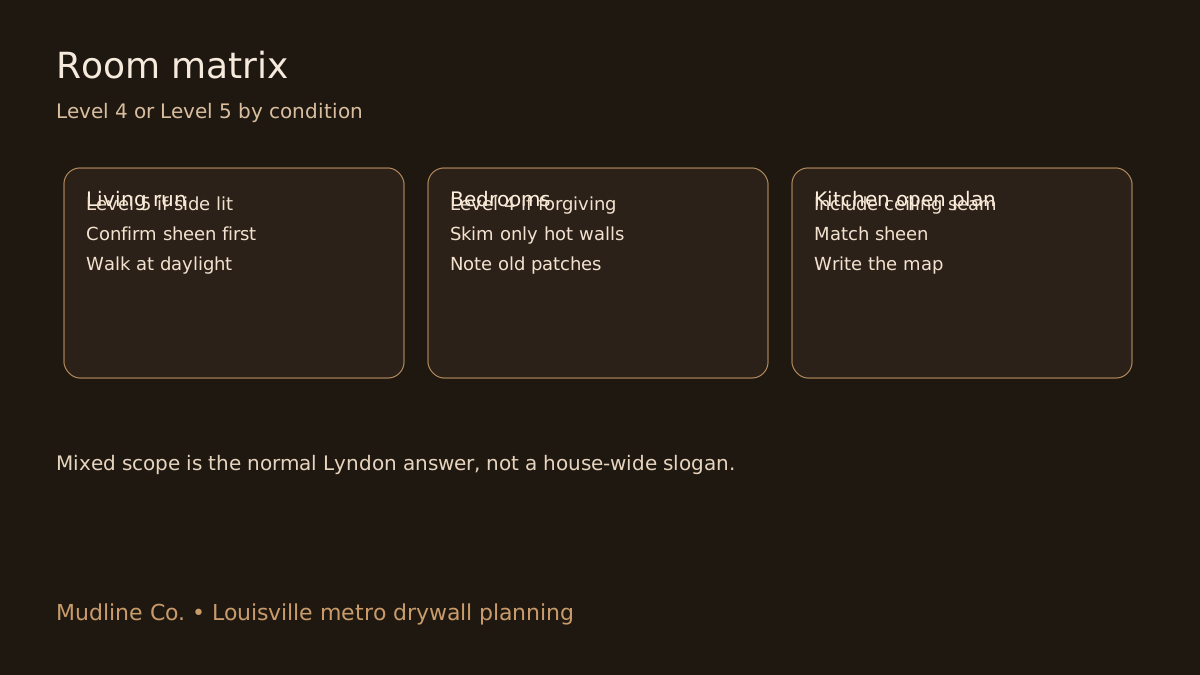
Write the scope by wall condition. A living-room plane that runs past a slider needs a different standard than the wall behind a door. Mixed scope is normal on these houses. It keeps the quote honest and puts the labor where the light actually is.
Side light on Shelbyville Road houses is the tell
A lot of Lyndon living rooms face the street or the rear yard with a wide window and almost no break in the drywall plane. Morning and late-day sun hit that plane at a shallow angle. Overhead cans, which many of these remodels add, do not reveal the same lines. If the only inspection is under cans at night, the wall can pass and still fail on Saturday afternoon.
Walk three views before you lock finish level: the entry glance, the sofa view, and the return walk along the window. If one of those views shows joints on a sample or on the existing finish, that wall is a Level 5 candidate or a sheen conversation. Do not wait for primer to discover it.
Sheen is part of the drywall scope
Flat and matte hide more. Eggshell shows more. Satin on a long Lyndon wall will advertise a Level 4 joint that looked acceptable in the estimate photos. If the homeowner wants a wipeable satin in the kitchen-living run, the finish level has to match that choice before the price is treated as final.
We ask for the intended sheen by room when we quote Lyndon work. If it is undecided, the quote should say which walls assume a forgiving sheen and which walls need a skim if the sheen goes up. That sentence prevents the callback that starts with “the paint made it look worse.”
Older board and new openings do not blend by hope
Many Lyndon houses have original board, a later patch at a removed bar, and a new opening for an open plan. Those surfaces were finished decades apart. A new Level 4 joint tied into a 1970s skim will read as a stripe unless the transition is planned. Note the old finish when you walk the house. Do not assume the whole room is one substrate.
Removed walls leave a ceiling seam and a floor line that paint will find. Include those tie-ins in the finish map. A beautiful new opening with a flashing ceiling joint is still an unfinished remodel to the person who lives there.
Dust and occupancy on a typical Lyndon schedule
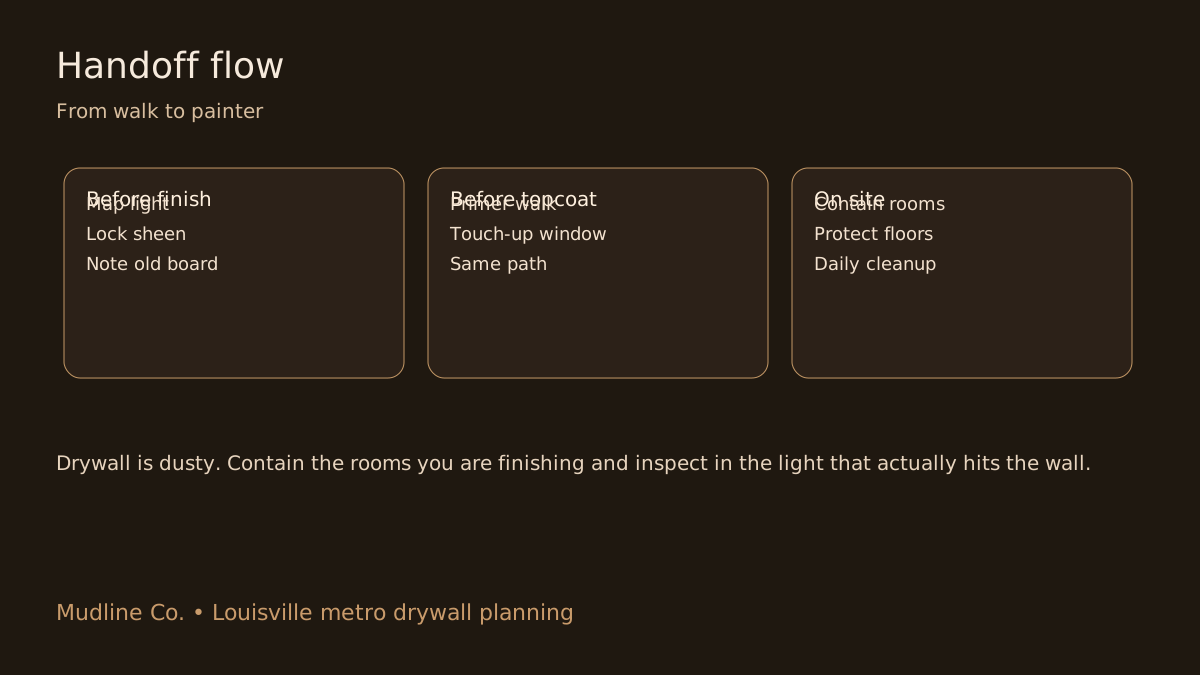
These are occupied houses. Kids, pets, and a kitchen that has to work at night are the normal job, not an exception. Drywall is a dusty process. We contain the rooms we are finishing, protect floors, and clean down daily. We do not promise the rest of the house will look untouched while joints are sanded.
Sequence the dusty work in a block, not as a surprise sanding visit between paint days. Lyndon driveways and interior stairs are tight. Say how board and mud will move through the house so the homeowner can clear a path before the crew arrives. That is part of finish quality, because rushed protection leads to rushed sanding.
What a Lyndon finish map should include
A useful map is one page: room name, the walls that catch side light, the planned sheen, Level 4 or Level 5, and any tie-in from a removed wall. Add a note if a ceiling is part of the same sightline. Builders and painters can both read that. A single line that says “Level 5 throughout” on a ranch remodel usually means nobody walked the light.
Agree on the acceptance walk before primer. Same path, same time of day if the complaint is daylight. If a wall only fails at 5 p.m., inspect it at 5 p.m. before the topcoat, not after the furniture is back.
Quote details that speed this up
Send a photo down the longest wall, a photo into the main window light, and the sheen you want in that room. Mention if this is a Hurstbourne-adjacent remodel, a Lyndon Lane ranch, or a house just off the Watterson. Those notes tell us how the light is likely to behave before we are on site.
If cabinets, sliders, or a removed soffit are part of the job, say so. Finish level around new millwork is a different scope than a paint-only refresh. We will return a written recommendation that splits Level 4 and Level 5 by room instead of a single house-wide guess.
Closeout that holds up after the cans are off
The handoff is primer review, a short touch-up window, then paint. Document which walls were skimmed and which were left at a disciplined Level 4 on purpose. That record stops the argument later about whether a bedroom joint was “missed” or scoped as acceptable under flat paint.
Lyndon walls do not need every square foot skimmed to look finished. They need the long, lit planes quiet and the rest of the house finished to a standard everyone agreed to. That is the Level 5 planning job on these streets: light, sheen, and a written map before the painter is on the schedule.
Ceilings in split-levels
Lyndon split-levels put a short ceiling run next to a taller one. That step is where finish level gets inconsistent. The lower lid may be original orange peel while the new opening is specified smooth. Decide whether texture stops at a corner or continues. A half-decision shows up as a blotch the first time someone walks down the steps in daylight.
If the ceiling is part of the same glance as the long wall, include it on the finish map. Skimming only the wall and leaving a flashing ceiling joint is a common Lyndon miss. The owner does not separate those surfaces. They see one room.
Scheduling around cabinets and floors
Many of these remodels have new floors or cabinets landing the same week as finish. Mud and sanding do not belong on unprotected new floors, and cabinet installers will cut returns that the finisher just closed. Write the order: finish the walls that cabinets will cover only after the boxes are set, and protect finished floors before any sanding in the open room.
If the painter is already booked, do not compress the skim coats to protect that date without telling the owner what gets dropped. A rushed Level 5 on a Lyndon window wall looks like a Level 4 with more sanding dust. Better to move paint two days than to pretend the coats dried.
A simple rule for these houses: if you can see the wall in one glance from the front door or the top of the split, it goes on the finish map with a sheen note. If you only see it when a door is open, Level 4 is usually enough. That split keeps the quote from bloating and keeps the lit walls from being an afterthought. Write it down before the painter is booked.
Common questions
Does every Lyndon room need Level 5?
No. Use Level 5 where side light and sheen will show joints, and keep a disciplined Level 4 where the light is forgiving.
Can satin paint reveal joints that looked fine before?
Yes. Higher sheen is less forgiving on long walls. Lock sheen before you lock finish level.
We already removed a wall. Does that change the finish scope?
Yes. The ceiling seam and the new opening are tie-ins. They should be on the finish map, not discovered at paint.
Will sanding stay only in one room?
Drywall is a dusty process. We contain the work rooms and clean daily, and you should still expect some dust at the barriers.